- Published on
You may have read my article about making a questionable recording booth out of my towel rack. While it was fun and all, I quickly realised it would not be a viable long term solution, especially for doing live coding videos.
I decided to create my own DIY recording booth, after watching a couple of convincing Youtube videos from Les McDonald and Media6D, showcasing their easy, low-budget DIY solutions. Big thanks to you two for the inspiration!
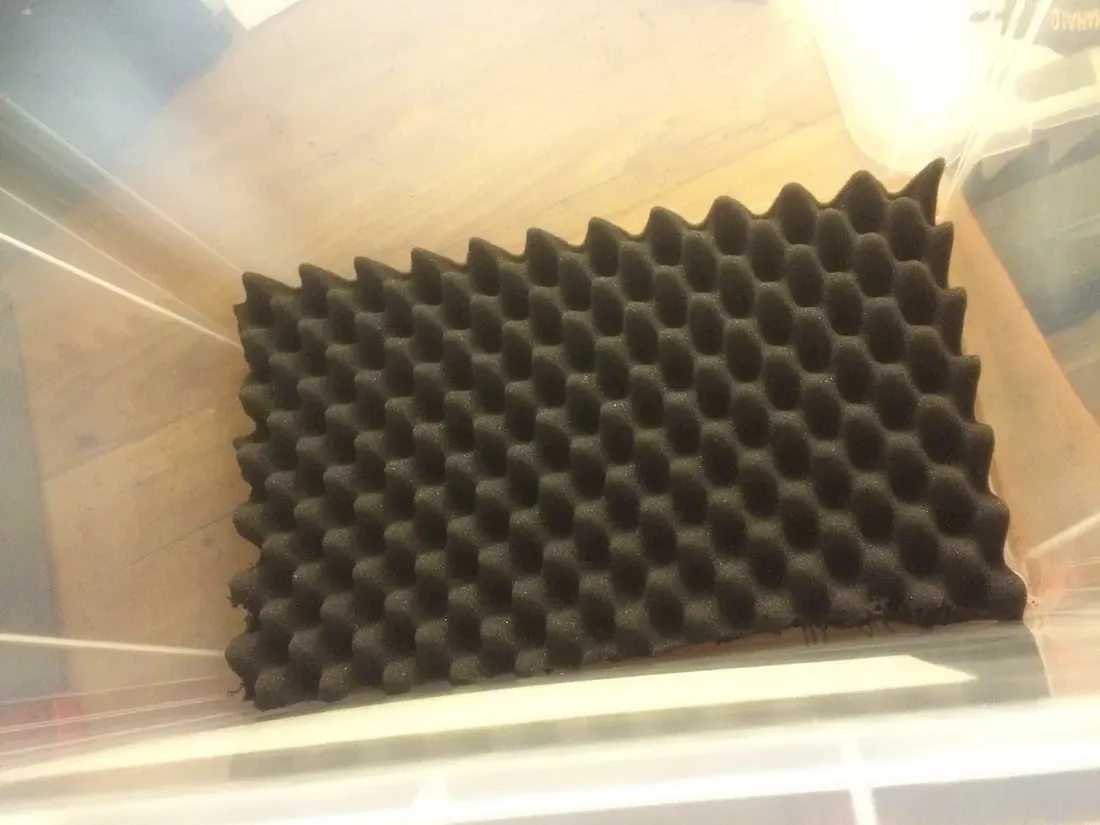
I ordered a bunch of professional acoustic tiles on ebay, and bought a plastic storage container which seemed to fit the dimensions I was after.
The plastic container cost me AU$ 14.99. There were some cheaper ones, but I liked the idea of a heavy duty plastic that won’t crack on first occasion.
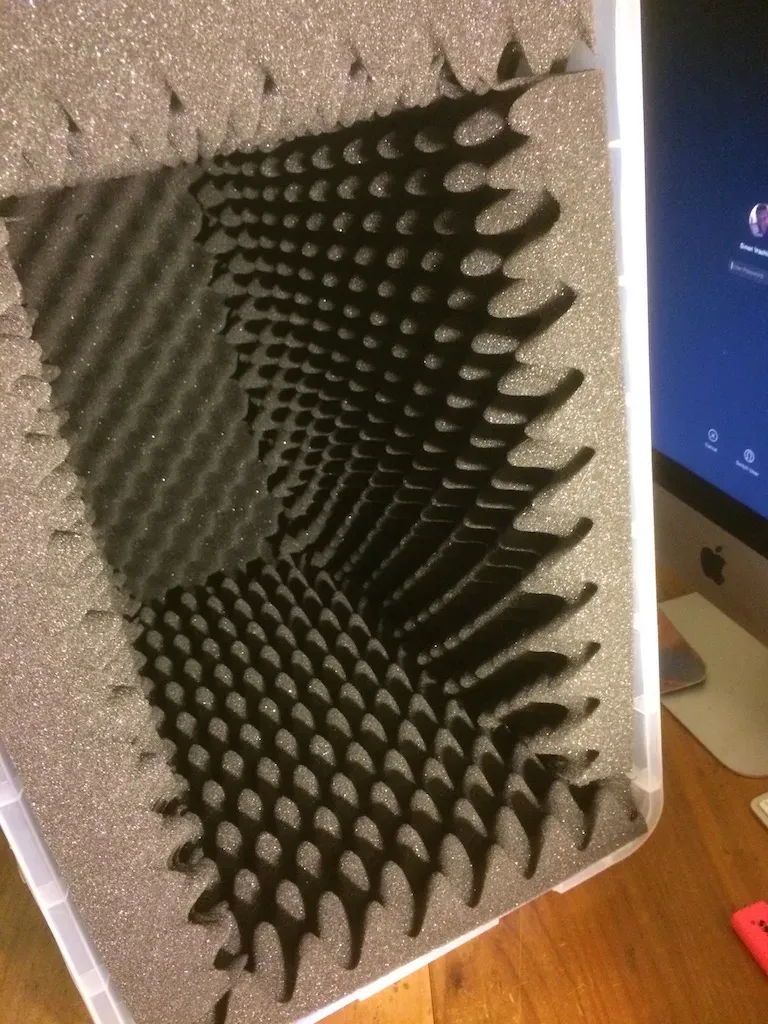
The acoustic tiles cost me AU$ 53.00 including shipping. I have far too much of it, but that’s the best deal I could find. Out of my 10-pack, I have 6 intact tiles + a lot of scraps form the cutouts left.
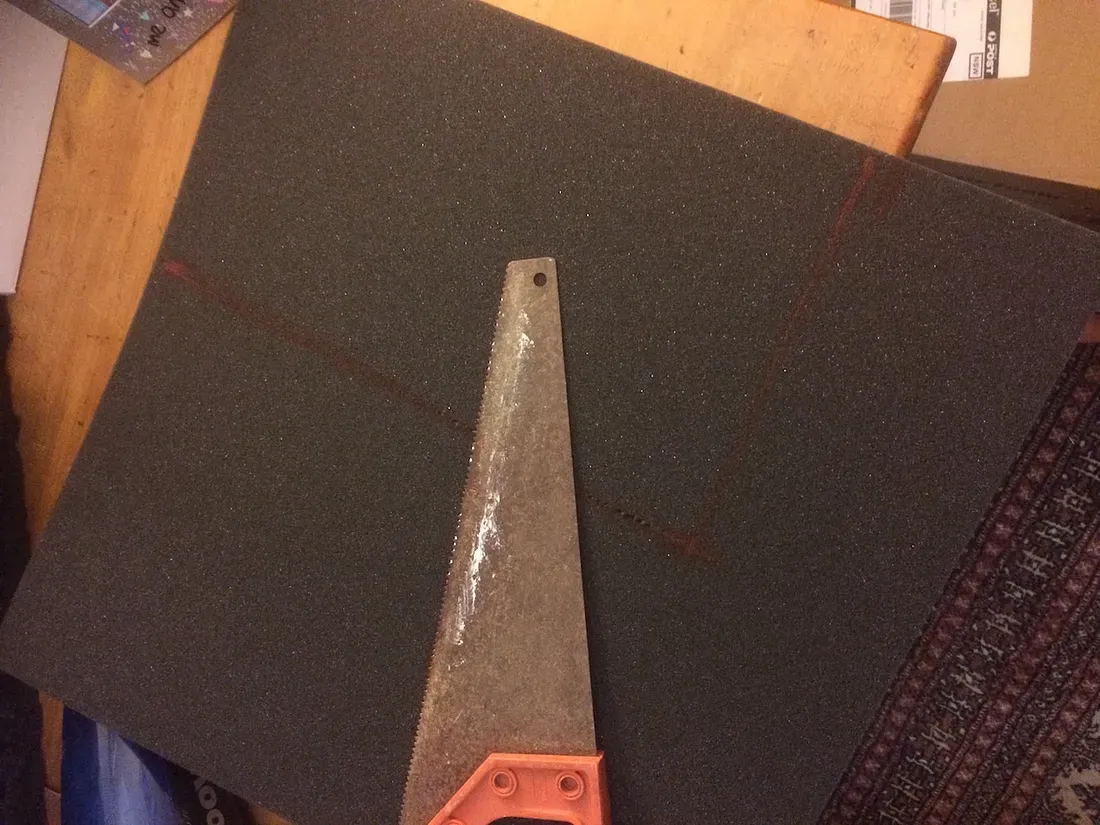
Foam tiles are tricky to cut, and the best tool for the job was my good old rusty saw. After a few quick visual measurements, I started cutting into the foam.
Here are a few shots from the build:
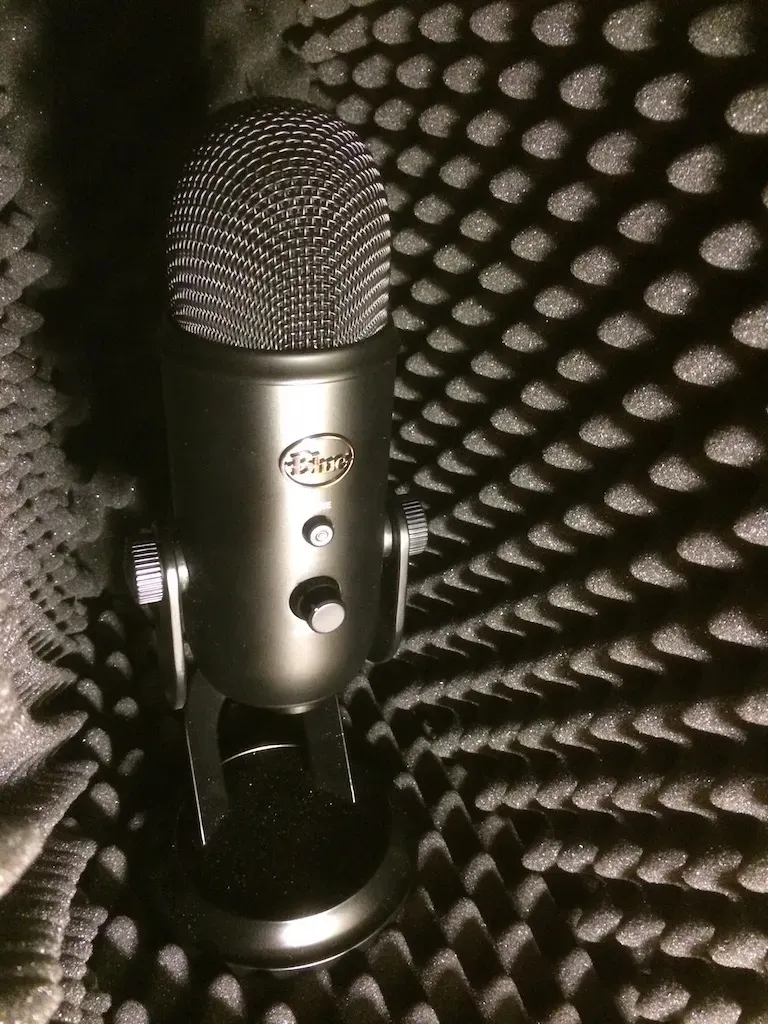
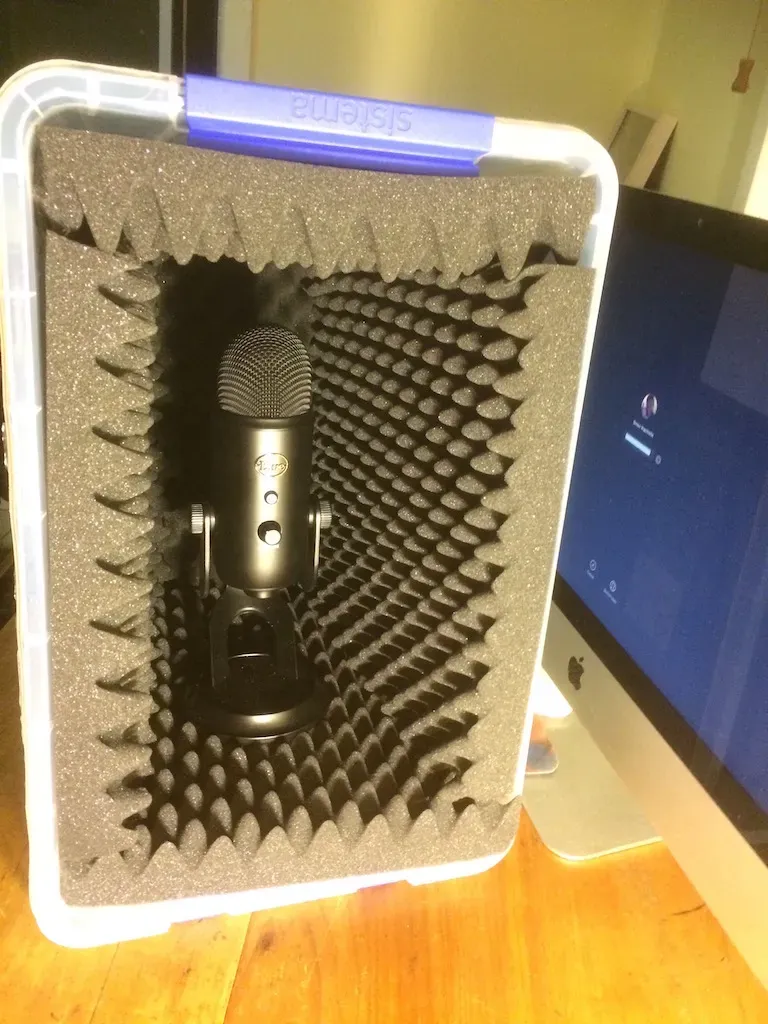
Looking pretty neat! The Blue Yeti fits right in.
So, does it work?
I was keen to see how the booth performed, and to give it a fair test, I made sure I was not doing any effort to improve the room audio quality. I kept the door open, the blinds rolled up, the windows open. I wanted to put the booth to the test against real life elements.
Here’s the video #4 of my Jade/Pug Tips in 90 Seconds video series, recorded in the conditions described just above.
Not bad, huh?
As a comparison, here’s video #1, recorded in the same room, with the same microphone:
I know which audio I prefer!
Edit: I have since re-done the Series Intro, because I couldn’t stand hearing that echo in my voice, and thought it could turn off a lot of people from watching the actual series.
Here’s the new intro:
So, Yeah, It Works
In retrospect, it was well worth the little research, expenses and build. The quality of my audio recordings is greatly improved.
It is probably not studio quality. I could also probably improve things a bit more by adding some additional foam tiles around me on the hard walls. But hey, this article is about a low budget DIY recording booth, not about turning your home into a recording studio.
Portable booth FTW
An added benefit is that I have now a portable storage box for my Blue Yeti, USB cable and headphones. It has a lid that prevents dust from creeping in if I am not using the mic for a while. It fits under my desk. I can take it anywhere on the road.
So, yeah. It works.
I've teamed up with Kent C. Dodds to teach Tailwind CSS (and more) as a partner instructor on the Epic Web platform!
Pro Tailwind is an advanced-level course on Tailwind CSS, like multi-theme and multi-style component strategies. Sign up today!